An EASY Way to Furniture Restoration
I have shared very little furniture restoration on this blog. Perhaps, that nursery rocking chair was the first project I shared before– but, have I got a great project to share with you today!
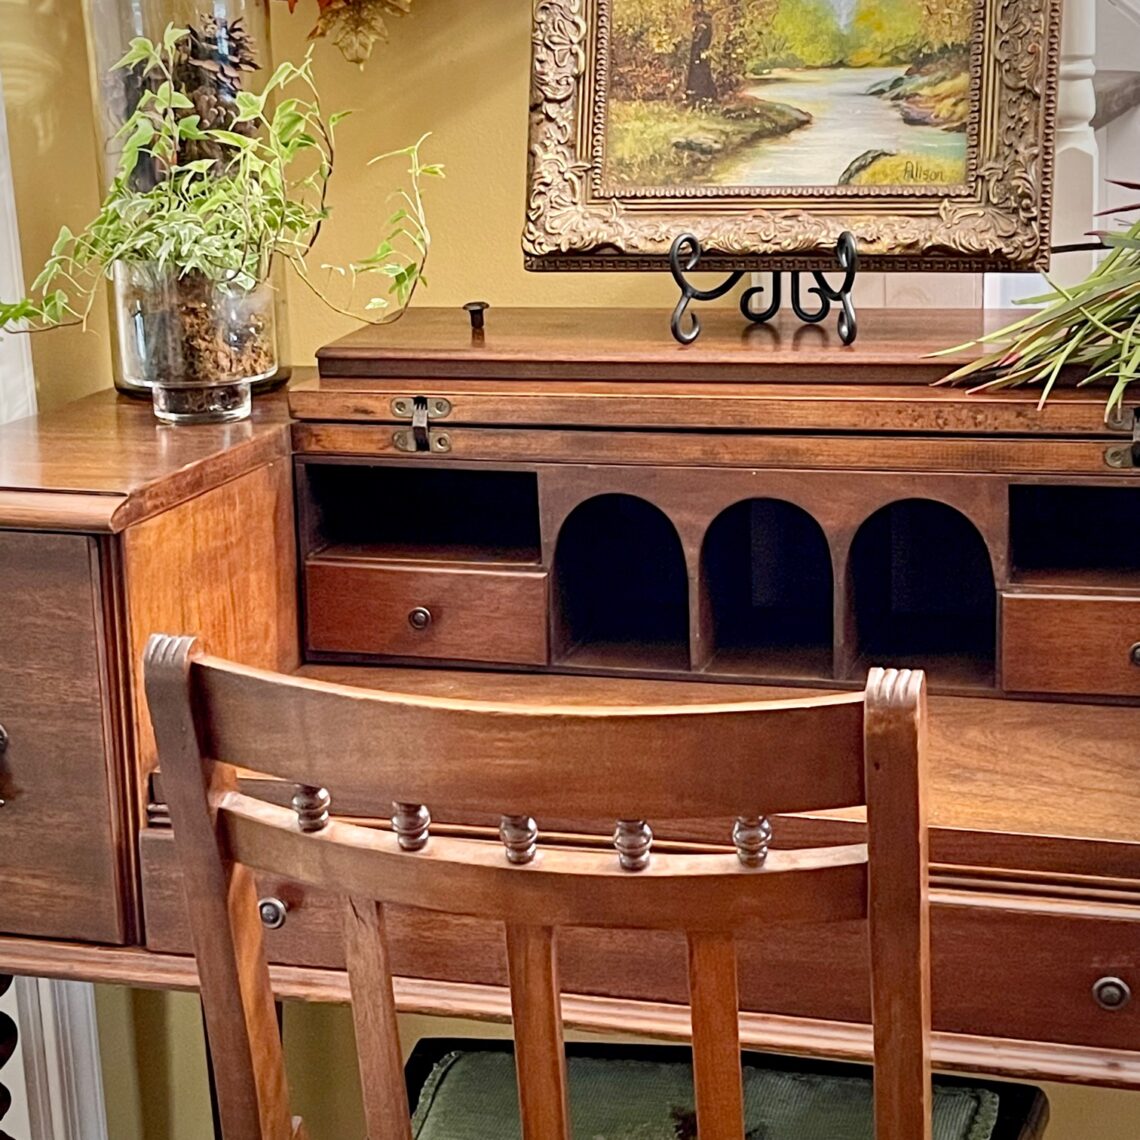
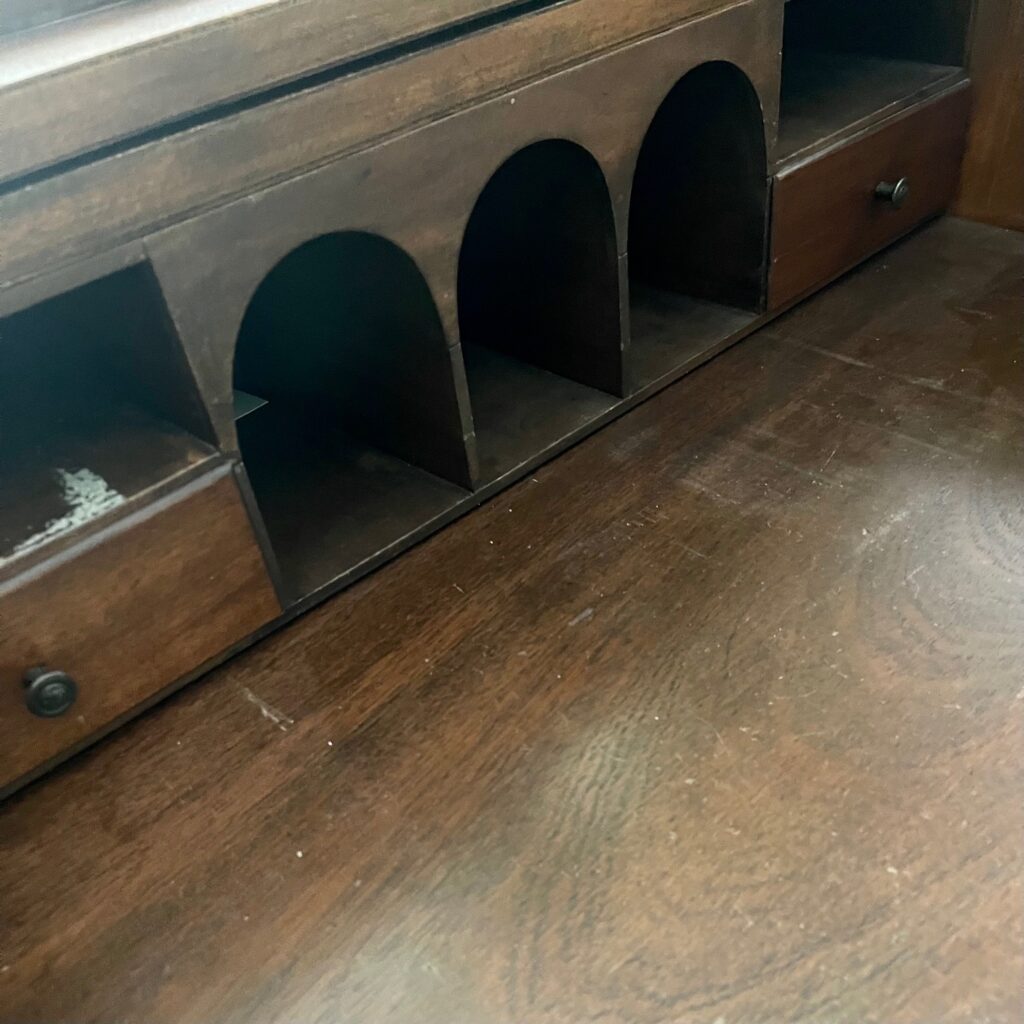
I was in a favorite antique store back in the spring and the sweetest desk stopped me in my tracks. I am not usually an expert at furniture restoration, but this petite flip top desk had me convinced that I would find a way to restore the finish on this antique!
Joy, the owner of Lamon Antiques, is always the expert that I turn to for help. In looking at that desk, she offered how to restore that top to a perfect finish.
Furniture Restoration Genius right there!
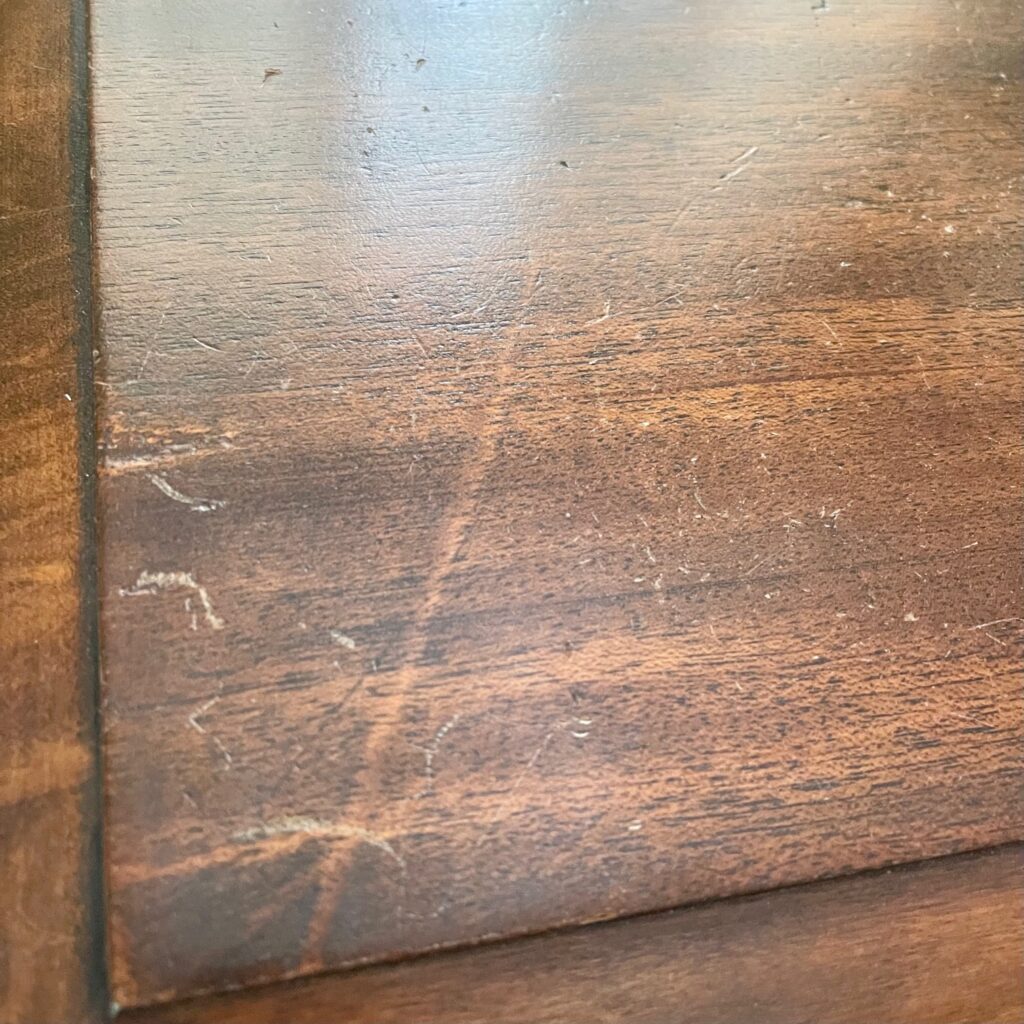
There were only a few scratches and blemishes with a bit of dullness that needed TLC.
Her solution? A product by Howard called: Restor-A-Finish. She explained the technique and how simple it was to use and the incredible results that she always had when she used them for antiques in her shop.
What was even better is that she loved the product so much, she had it in stock in her shop.
Now, I had a hand in college at furniture restoration with a bread bowl of my grandmother’s that I used for one of my home economics required courses.
It was a lot of work, but proved great results in restoring that antique back to “better than original glory”.
All of my married life, there were antiques that needed a little love, refinishing or a bit of paint when it was past a redo.
But, there was another problem.
One of those gorgeous legs was a bit wobbly.
Joy looked at me and said she was convinced that she knew my husband could fix that leg. After all, she had witnessed his expertise in many projects, with the last one being that great spice organizer/cookbook cabinet.
Then she gave me a price I couldn’t refuse, and we both carried that sweet piece and loaded it in the back of my car, along with a container of the “Restor-A-Finish” recommended products.
That handy husband looked at the leg and proclaimed it an easy fix. In fact, all four legs would be reinforced and be as good as new.
Time clipped on with other projects taking priority over that furniture restoration plan for the desk.
As for me, I was back to the refinishing project at hand.
It was so simple that it was too good not to share with you!
- Clean furniture
- Wipe on Restor-A-Finish with fine steel wool or soft cloth.
- Remove immediately with soft cloth.
- Wax to seal, if desired.
Here’s the direction sheet if you’d love to save it! Don’t forget to pin this on Pinterest so you don’t lose it, too!
Restor-A-Finish Furniture Restoration
Materials
- 1 0000 Fine Steel Wool if deep scratches require it
- 1 container Howard's Restor-A-Finish color to match furniture
- 1 cloth soft to add Restor-A-Finish
- 1 cloth soft to remove Restor-A-Finish
- 1 piece Brown Craft Paper large enough to protect area beneath furniture
- 1 pair vinyl gloves
- 1 container Howard Feed-N-Wax
Instructions
- Wipe down/clean the piece of furniture that needs restoration before beginning project.
- Select the color of Howard's Restor-A-Finish that best matches the finish on the furniture you want to restore.
- Place furniture on brown craft paper and/or towels to protect the area which you are working.
- Wearing gloves, shake the Restor-A-Finish and add to the 0000 steel wool or soft cloth to apply onto the furniture. A soft cloth often will work if there are not a lot of scratches that need the steel wool to smooth out and get the product into the wood.NOTE: DO NOT APPLY DIRECTLY TO WOOD!
- Apply with the grain of the wood.
- Immediately use another soft cloth and wipe off the product.
- If desired, wait 30 minutes and apply Howard Feed-N-Wax to protect the restored finish.
Notes
This was the easiest solution to “refinishing” or furniture restoration I have ever tried. Now, I am using it on some other antique pieces that needed some TLC.
I will send this sweet desk upstairs soon, but for now, it is nestled at the bottom of the stairway with an added bonus of one of Aunt Helen’s chairs that she needlepointed as a perfect companion. Even the color tones are a perfect match.
Trust me….even Aunt Helen would approve of this method of restoring furniture.
What do you think?
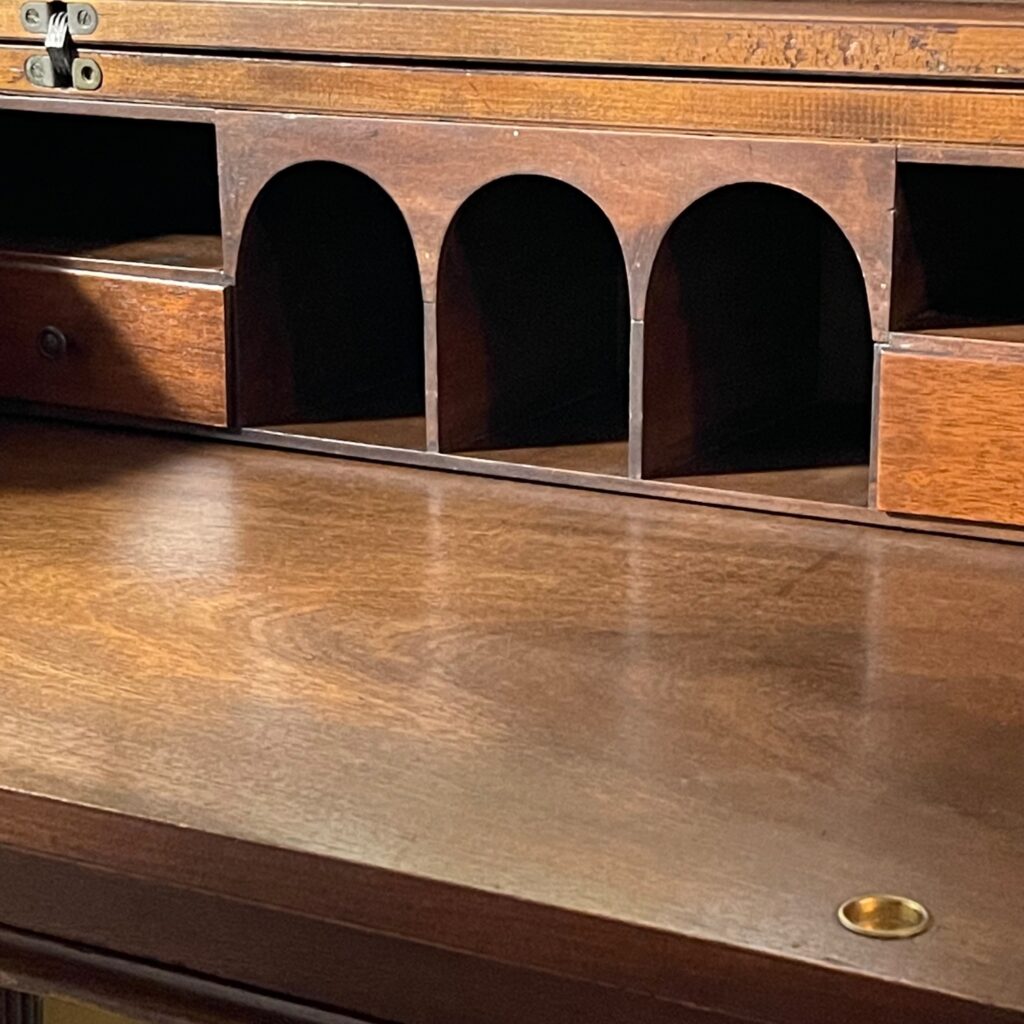
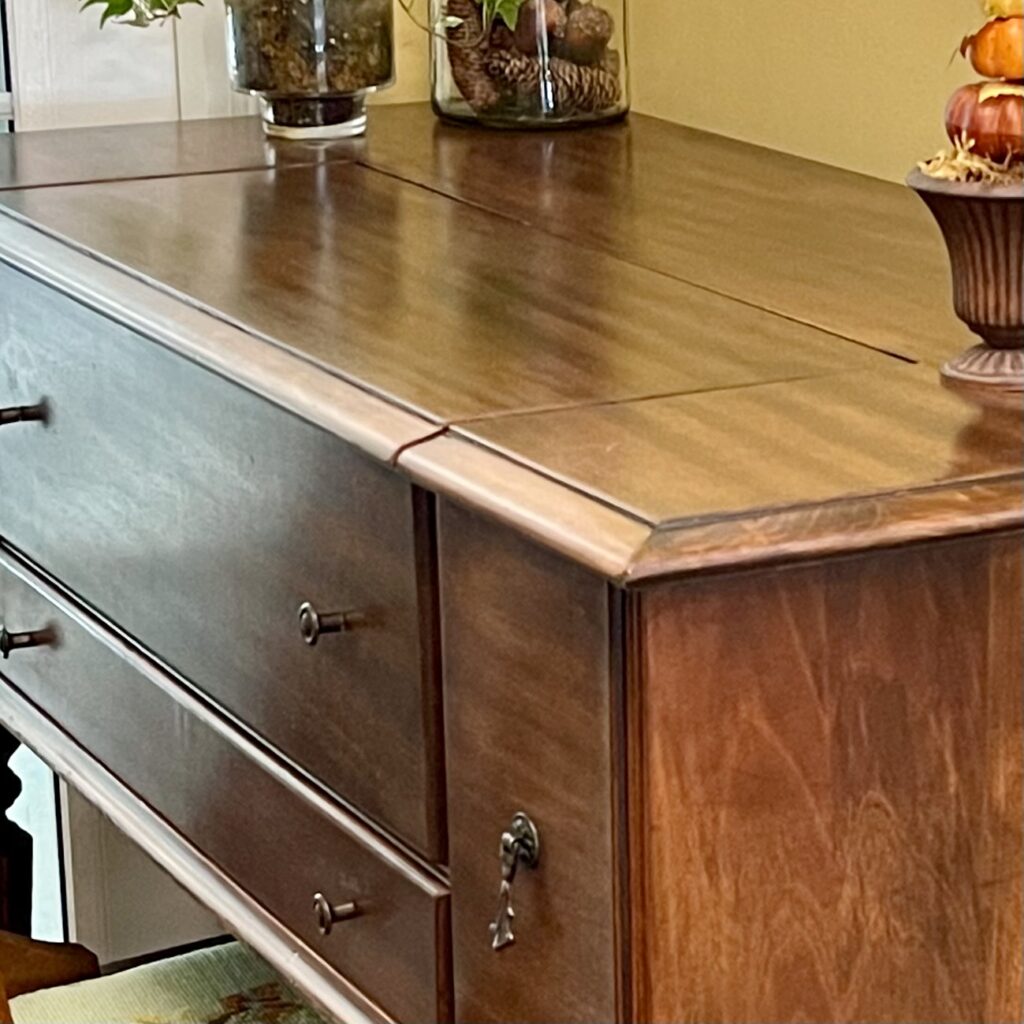
So easy to use with great results for pieces that just need a little TLC. No stripping of finishes and paint didn’t have to cover up the wood. This project simply allows you to capture the beauty of that wood which I always love.
I am in love with this little flip top desk. Always a joy to have my feet under this little table.
If you are interested in giving this a try, I have added shopping links for your convenience that add no extra cost for you. I love finding things for you! And, if you shop, it provides a small commission for this blog continue to grow and share more with you. Win! Win! for us both!

I have some amazing friends that are sharing projects on their blog today that I thought you would enjoy!

So happy if you have joined me from Tammy at White Lilac Farmhouse and her great front porch for the season.
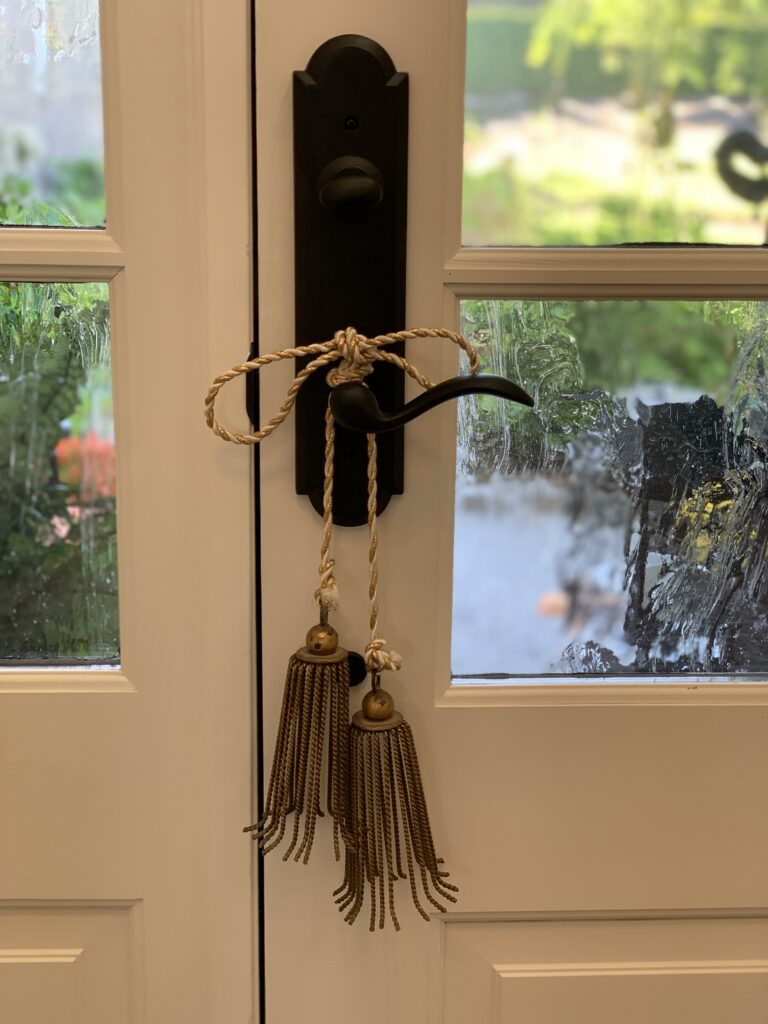
Renae at Peacock Ridge Farm is sharing new hardware on her front door. Hope you will follow her and all of my friends. They always bring me inspiration and joy! Enjoy!
Weren’t Do’s flour sack towels the best? and I love Cindy’s vintage finds.
Thank you for joining me today. Hope you have gained a bit of inspiration– Have a wonderful weekend, friends!
Until we meet again here–Leslie


32 Comments
Cindy Rust
You found an amazing desk, Leslie!! You breathed new life into it so easily!! Well done! Pinning!
Leslie J Watkins
Isn’t it the sweetest? That needlepointed chair looks like it was made for it. I love this product. Hope you’ll give it a try! Loved hopping with you!
Tammy
Leslie, this little desk turned out amazing. I absolutely love the new finish you selected and applied to it. I love when old furniture is made new again.
Leslie J Watkins
Thank you. This product is so easy and gives such new life, that I have two gateleg tables that are getting a makeover next! Have a great weekend!
Cindy
Leslie thus a beautiful piece. With little effort you made it cone alive again
Pinned!
Leslie J Watkins
Thank you. I love how this little desk turned out. Such an easy redo!
Renae
Such a gorgeous piece of furniture! Well done, my friend.
Leslie J Watkins
Thank you. Isn’t it the sweetest? I am in love with it! Loved hopping with you!
Vickie Ramey
I’m getting this product–I have several things that need a little TLC! Can’t wait to see it!
Leslie J Watkins
It is so easy and adds life to all of your wooden furniture. I have several pieces that need a little TLC that I am going to use it to bring a little life back. Hope you love it!
Martha Wallace
Restore a Finish to the rescue! I use it on everything. The most amazing stuff ever! I even got Mary to use it on a desk she bought at Lamon’s!
Your desk looks beautiful!
Leslie J Watkins
I am in love with it! It is making it’s way through the house on other pieces now!
Do Dodson
I can’t believe this is the same piece of furniture. Wowser! Can you believe I have never used this product? Guess I better get some. I have pinned this for later.
And thanks for joining us in the blog hop today. It was fun! 🙂
Leslie J Watkins
It is the EASIEST ever! I am in love with it! I loved hopping with you today. Have a great weekend, Do!
KariAnne
Love this so much! What a great solution! I’m going to use this for my next project!
Happy day friend!
KariAnne
Leslie J Watkins
Oh, my goodness! THIS IS SO EASY! you will love it! Thanks for following along with me. It means so much to have you join me!
Marie
Such a great find! It is shining once again with your help. I love Restor a Finish too!
Leslie J Watkins
Thank you. It is the EASIEST ever! My first time trying and I am a FAN!
Paula@SweetPea
Wow, this product did wonders on your beautiful desk. The finish looks wonderful!
Leslie J Watkins
Thank you, Paula. I LOVE this product. I hope you will give it a try. It gives amazing results.
Juliet
What a gorgeous piece, Leslie. Appreciatet the printable directions. I’m saving this to guide me through the process of restorting an old and sentimental chair. Wish me luck! xo
Leslie J Watkins
Thank you, Juliet. I fell in love with it when I found it! And this product is AMAZING! Hope you love it!
Melba
Such a pretty deks, great find! Loved the blog hop!
Leslie J Watkins
Thank you, Melba. Isn’t it the sweetest?!
Regina
Leslie – what a beautiful piece. Love love love how you did the directions. Great ideas.
Leslie J Watkins
Thank you, Regina! I just couldn’t leave that desk there. Thank you, friend for your sweet comments. So very appreciated!
Kim
I love a quick and easy fix. It looks lovely!!
Leslie J Watkins
me, too! Thanks so much!
Dee Cottage Comforts Home
What an adorable little desk, a good find for sure! I have used their products for years, especially back in the ’80s and ’90s. So easy to use, and the results are always consistently great! They definitely are a go-to thanks for the wonderful post!
Leslie J Watkins
Thank you, Dee. Isn’t it the BEST product?! It has made it’s way through the house on more pieces. Truly a wonderful product. Thank you, as always, for your sweet comments. They are truly appreciated.
Linda Johnston
Leslie, I’m going to give it a try on a bedroom chest we got an an auction years ago. It needs some TLC!
Leslie J Watkins
Linda, you will love it!! It’s the perfect TLC for your furniture. I’m working through the house giving a bit of refresh to so many of my pieces. Enjoy!